Building your own custom PC can be an exciting and rewarding experience. Whether you’re a gamer, content creator, or someone who needs a powerful computer for work, assembling a PC allows you to tailor it to your specific needs. Here’s a step-by-step guide to help you through the process.
Step 1: Define Your Purpose and Budget
Before you start, determine why you’re building a PC. Are you gaming, editing videos, or performing general computing tasks? Your purpose will guide your choice of components. Set a realistic budget, keeping in mind that higher-end components come with a higher price tag.
Step 2: Choose Your Components
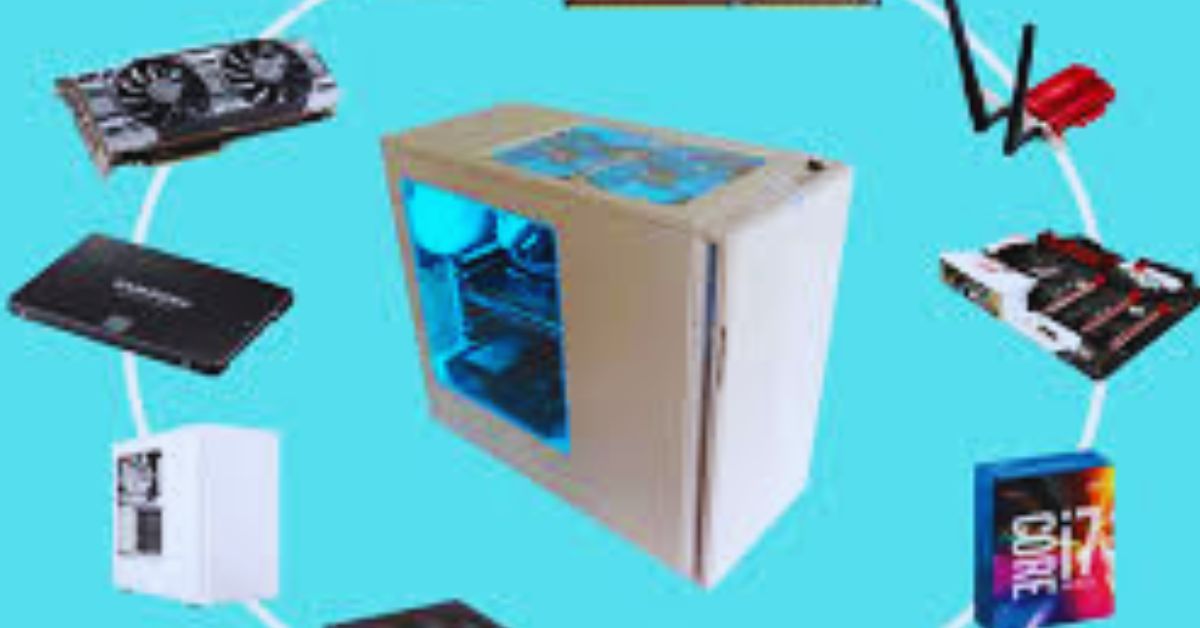
Selecting the right components is crucial. Here’s a breakdown of the main parts you’ll need:
- CPU (Processor): The brain of your computer. Choose one that suits your performance needs, such as Intel Core i5/i7 or AMD Ryzen.
- Motherboard: Ensure it’s compatible with your CPU and has all the necessary ports and features.
- RAM (Memory): At least 16GB is recommended for most tasks. Gamers or professionals might opt for 32GB or more.
- Storage: Decide between SSDs (faster) and HDDs (more affordable). Consider a combination for speed and capacity.
- Graphics Card (GPU): Essential for gaming or video editing. Choose a model based on your workload.
- Power Supply Unit (PSU): Provide sufficient wattage and choose a reliable brand.
- Case: Pick a case that fits your components and has good airflow.
- Cooling System: This could be air cooling or liquid cooling, depending on your setup and needs.
- Operating System: Most PCs run on Windows, but you can also explore Linux or other operating systems.
Step 3: Gather Tools and Workspace
Prepare a clean, static-free workspace with ample lighting. You’ll need a Phillips-head screwdriver, zip ties, and an anti-static wrist strap to protect your components.
Step 4: Assemble Your PC
Follow these steps to put your PC together:
- Install the CPU: Carefully insert the CPU into the socket on the motherboard. Secure it in place and attach the cooling solution.
- Install RAM: Snap the RAM sticks into their designated slots on the motherboard.
- Mount the Motherboard: Secure the motherboard inside the case using screws and standoffs.
- Install Storage: Attach SSDs or HDDs to the case and connect them to the motherboard.
- Install the GPU: Slot the graphics card into the PCIe slot on the motherboard.
- Connect the PSU: Attach power cables to the motherboard, GPU, and storage devices. Ensure all connections are secure.
- Organize Cables: Use zip ties to keep cables tidy and improve airflow.
- Install the Cooling System: Set up fans or a liquid cooling system as per the instructions.
Step 5: Boot and Install Software
Once everything is assembled, power on your PC. If it doesn’t start, double-check all connections. Once it boots successfully, insert a USB drive or disc with your operating system and follow the installation instructions.
Step 6: Test Your PC
Run benchmarks and stress tests to ensure everything works as expected. Monitor temperatures to confirm the cooling system is effective.
Step 7: Customize and Optimize
Install necessary drivers, software, and updates. Customize your settings for optimal performance and enjoy your new custom-built PC.
Final Thoughts
Building a custom PC may seem daunting at first, but it’s a straightforward process with the right guidance. Not only will you save money, but you’ll also gain valuable knowledge about how your computer works. Follow this guide, and you’ll have a PC that meets your unique needs and preferences.